This was a fun project. I’ve had about 3 different versions and 4 different microcontrollers. I started with an Arduino Mega, but the lack of memory on the Mega limited the number of gifs I could have. Then I bought a SmartMatrix V.3 with Teensy 3.2 which, uh, got thrown away on accident before I ever used it. Next was a Raspberry Pi with RGB matrix hat, which worked pretty well. However, the low profile of the new SmartMatrix V.4 was highly desired, so it was the final and best choice.
The matrix is attached to my hat using magnets and it’s covered in a stretchy black fabric. I used a cell phone battery pack for powering both the matrix and the teensy. The battery lasted all commencement and all of dinner afterwards. Originally, the battery was situated under the matrix on the cap, but it was very heavy, so I had to reroute the battery to a pouch thing I made on my back. Even moving the battery the hat was very heavy. I used 8 clips to keep it in place during the ceremony. It stayed on my head, but was fairly uncomfortable around hour 2.
I had about 40 gifs on the SD card. I made about half of them using Aesprite. The other half I found on the Animated Gif section here and various other places on the internet. I had a small issue with a couple of gifs I made blinking randomly, but running them through the optimizer at ezgif fixed that.
I was using the default animated gif sketch found the library due to time constraints. If I had more time I would have written my own program to have some sort of loop.
Overall, this was a fun project, and I’m definitely going to use this matrix/teensy for something else in the future. I haven’t decided what though.
Feel free to ask me about my build, I’ll be happy to answer any questions.
How was it uncomfortable after 2 hours? Too much weight on your neck, or where the hat makes contact with your head?
Do you have any more details on the black cloth you used to cover the panel? I tried to make a hat like this by opening up the fabric on the graduation hat, and slipping a panel next to the cardboard inside. The cloth used on the hat was very coarse and blocked the lights from shining through clearly, and it didn’t look very good.
The hat was semi-uncomfortable because it would pull backwards. I had it clipped in pretty well, but it could still wiggle a bit and finding a spot where it sat comfortably was difficult. It was tolerable but still a bit uncomfortable. I found myself looking down a lot to keep the hat perfectly balanced on my head. I bet with more tinkering I could distribute the weight of the panel more evenly.
The fabric I used was a very stretchy (in all directions) fabric. I’m not 100% sure what type of fabric it is because it’s left over from another project. I think it’s a costume knit/spandex fabric like this one. I stretched it as far as I could and ‘glued’ it on with brush on nail glue (which is basically superglue) so I can remove it later to use the pixel matrix elsewhere.
This is not quite how things work People will not walk you through making your own in details. The library is already available, you can already buy a 64x64 panel and connect a teensy to it and use the examples that come with the library.
All that is left is adding some animated gifs (for which is there also an already made library) and possibly a few controls.
I’m not saying it’s not work, it is, but all the bits you need are already here.
If you get stuck along the process on something specific, then you can explain what it is, and hopefully someone can help you.
How long did the project take you? I graduate in a month and was wondering if I would be able to get this done in that amount of time. (Note: All I have is programming experience, I’ve never done anything like this before.)
Found that it’s easy to remove the thread from the end of the cap to get access to the inside
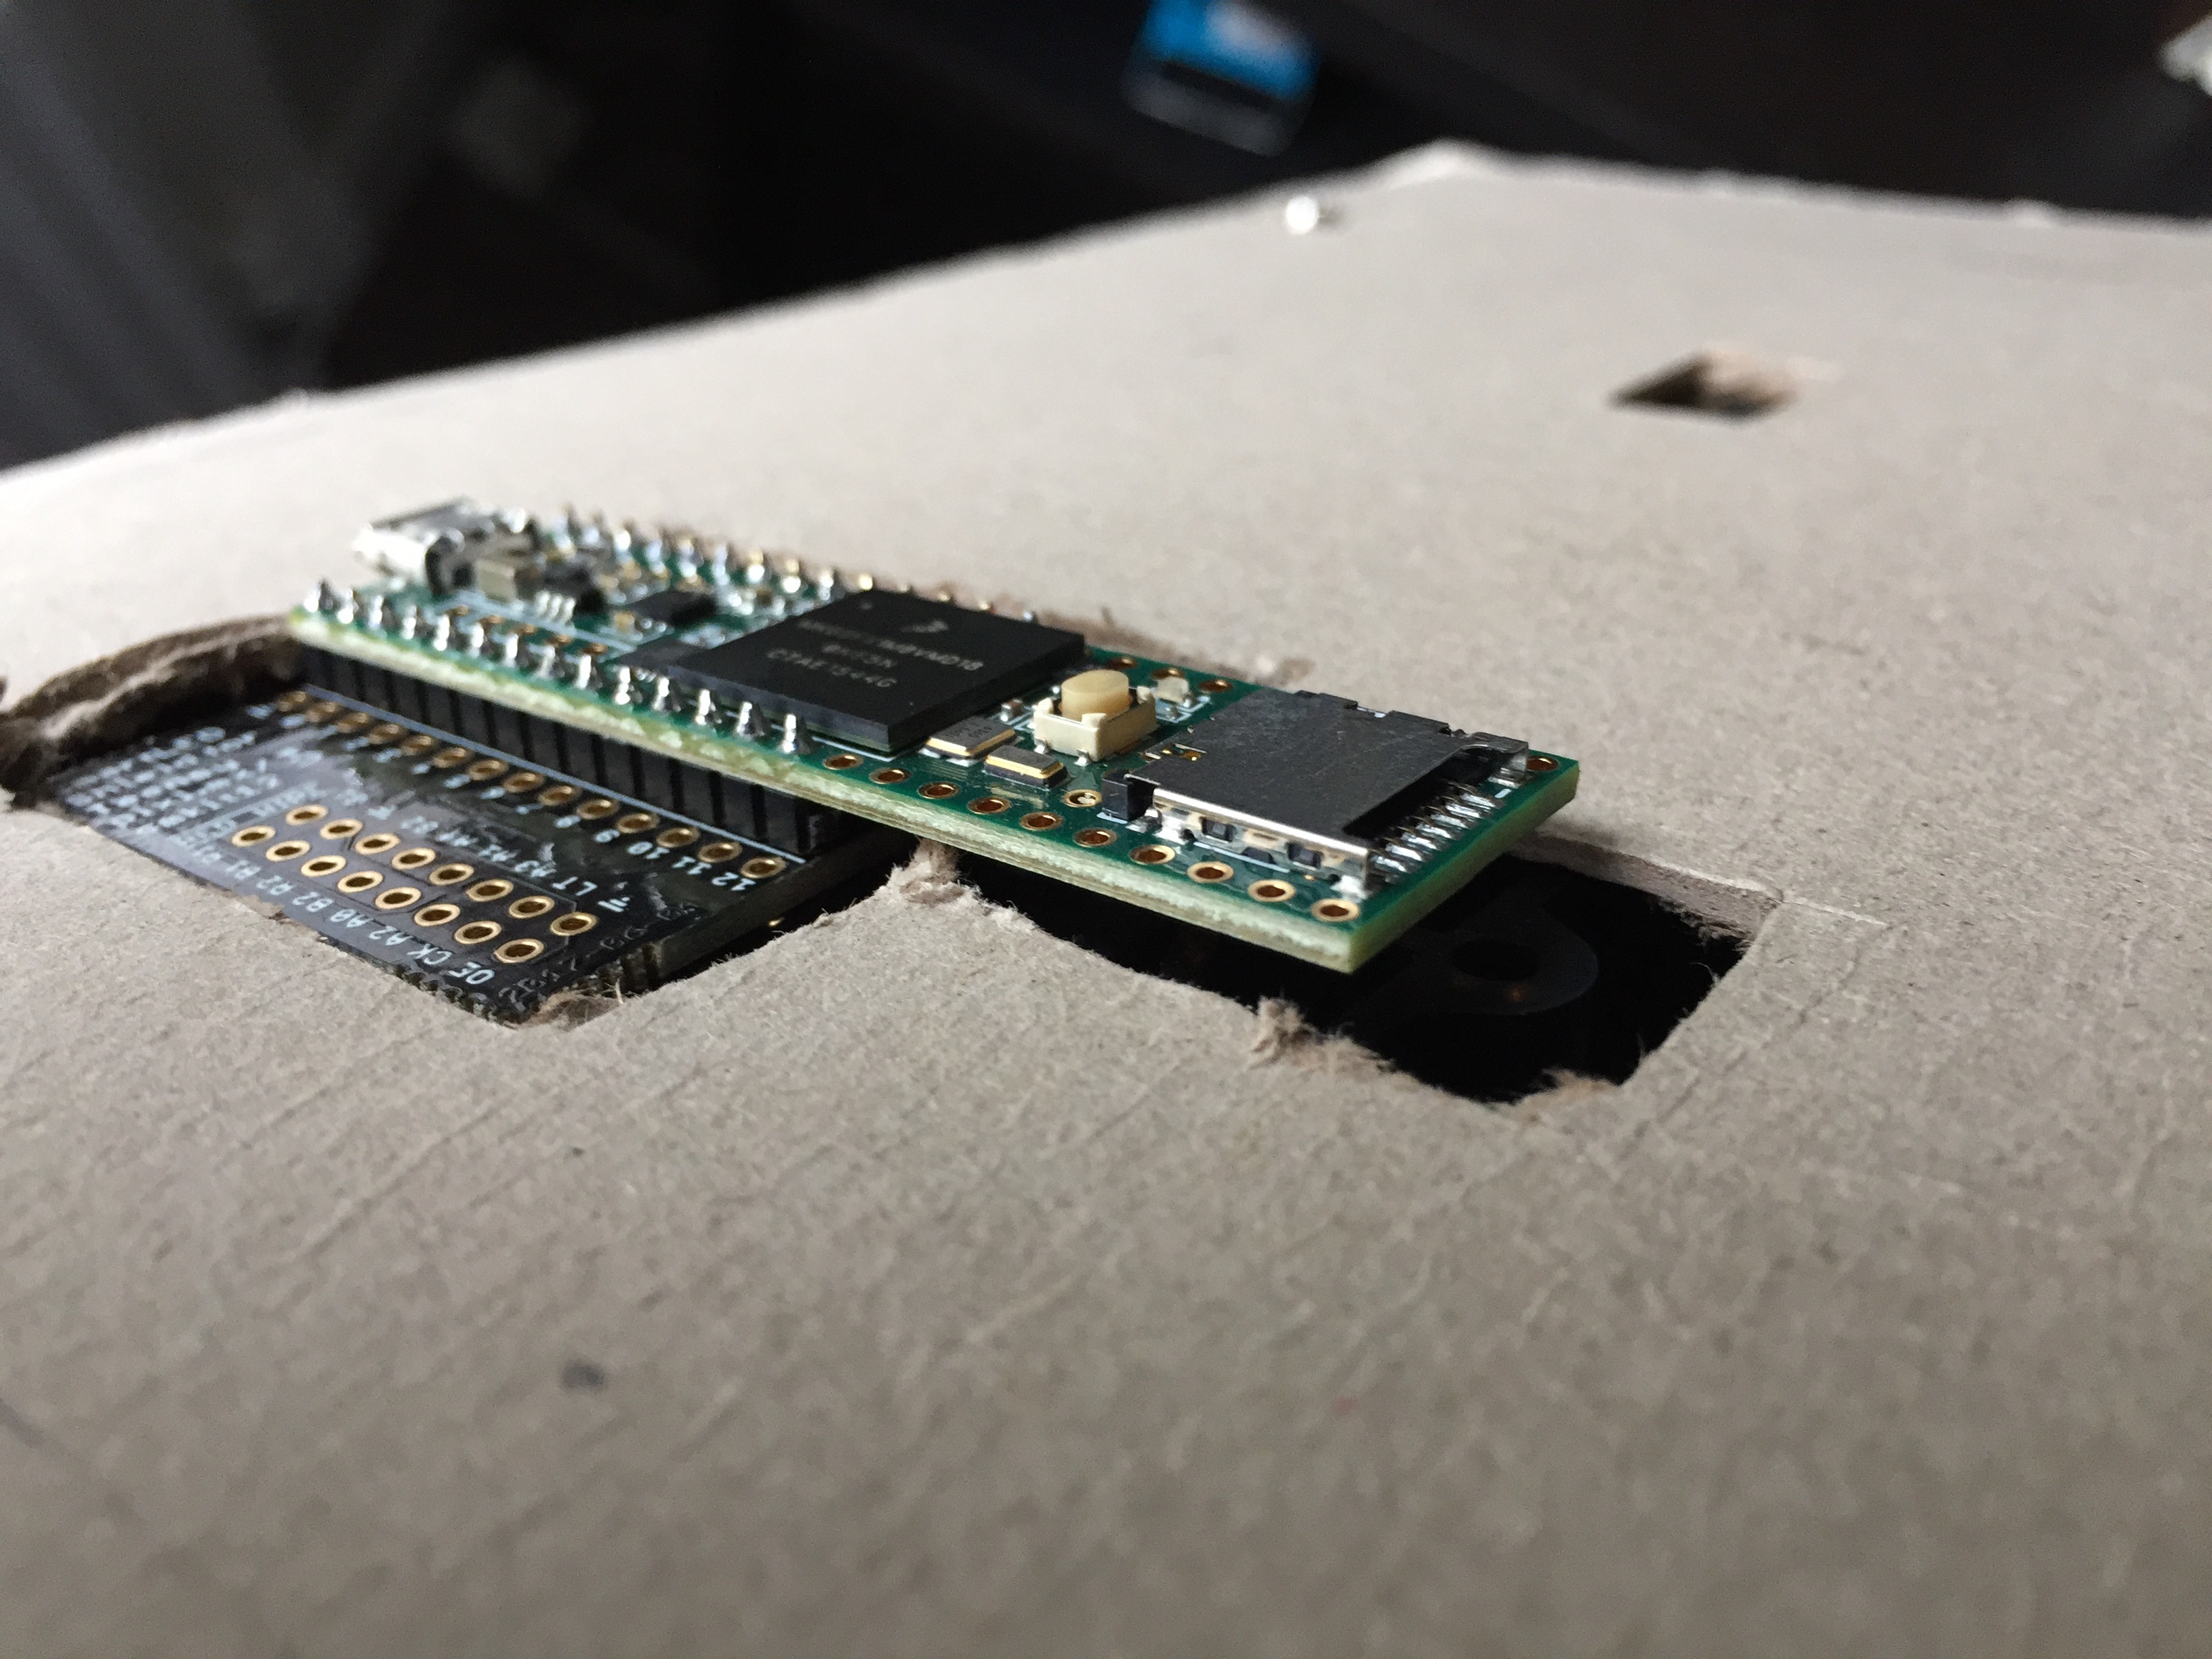
Found that a P6 panel fits inside between the board and the fabric, with minimal bending of the board
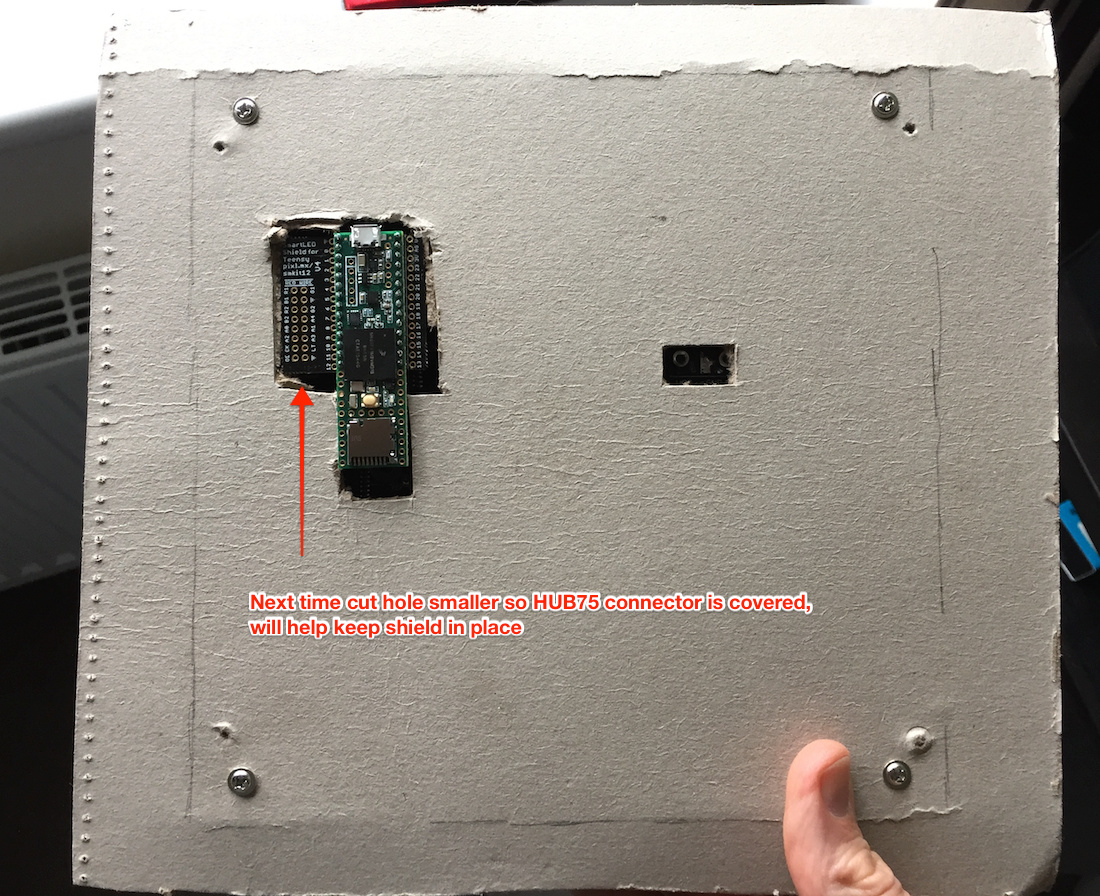
Found that there’s a lot of unused space below the board above the head, as only the center of the board makes contact with the head. There seems to be room for the SmartLED Shield and power to stick out through the plane of the board without being uncomfortable.
Prototyped how I’d add the SmartLED Shield and power to the board, using a simple paper template, and cutting holes for M3 screws, power, SmartLED Shield mounted direct to the HUB75 connector. Best option seems to be to have the side with the HUB75 connectors (and hopefully power connector) oriented to the rear of the board/cap.
Thinking about how to connect up power:
power will likely come from a USB battery pack put in a pocket to easily connect to the cap.
Want one connection for both SmartLED Shield and matrix. Barrel jack seems good, as you can find a USB to barrel jack connector. I think a panel mount connector is too thick to fit. A barrel to screw terminal connector seems too bulky and risks coming loose if there’s repeated tugging on it. I think cutting a barrel cable extension in half and feeding it through a hole in the board with some strain relief is a good option.
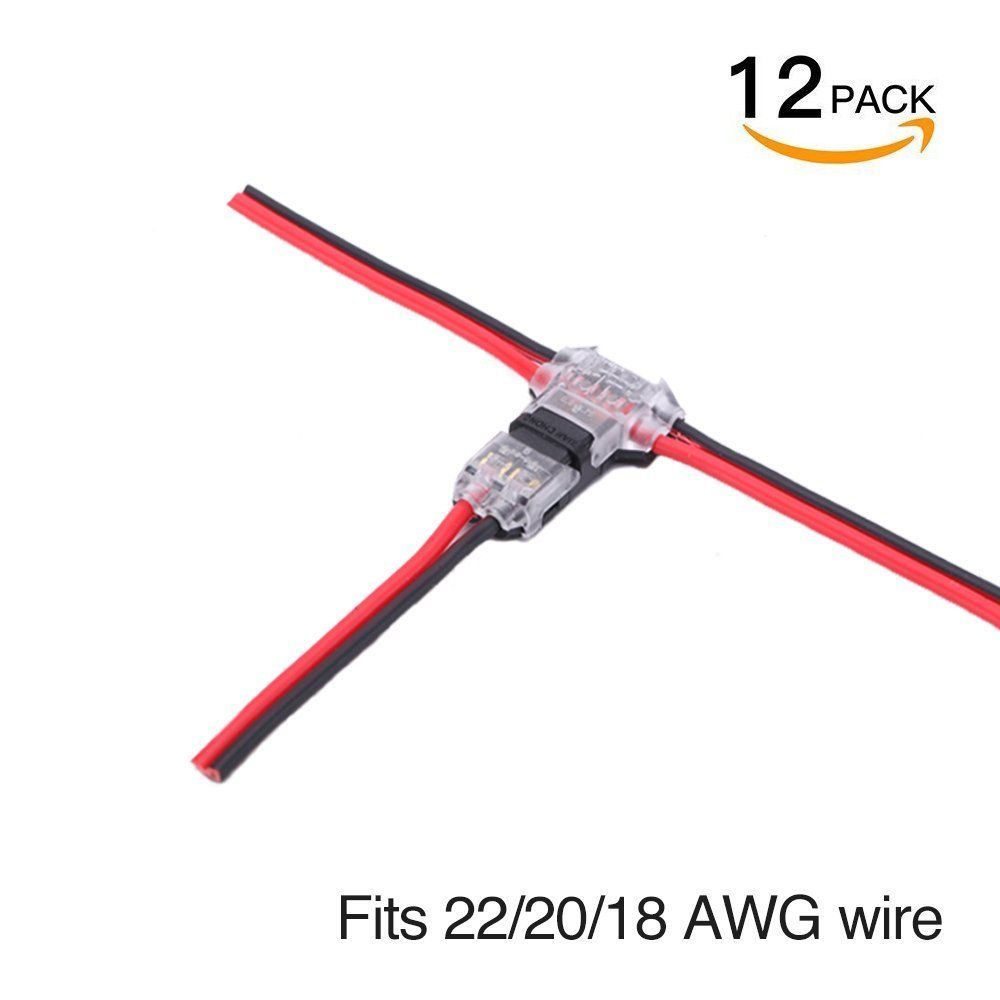
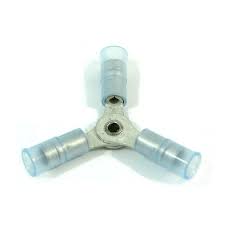
need a way to make split the power supply to two destinations. Needs to be low profile to fit between the board and matrix. Don’t want to require soldering to make it easy to reproduce this by as many people as possible. Maybe an automotive parts store has some options to connect power lines with crimps and not soldering.
the cloth covering the cap looks horrible when backlit. Without any diffusion the threads seem to block out the point source light, changing the perceived color as individual color LEDs are blocked. Adding a diffusion layer makes it better, but still not great. It might be better to cut a hole in the hat or mount the matrix on top of the board and fabric (as the most recent matrix hat tutorial I saw did)
Also, when choosing and LED board, what difference does the pitch make? There 4mm, 5mm, and 6mm
One big difference is the size of the panel. P6 (aka 6mm Pitch) is about the same size as the board inside the cap. P5 will be smaller, so you’ll have a smaller screen relative to the size of the board. Same with P4. P3 is also appropriate, as you get a 64x64 panel that’s the same size as a P3 32x32, and then have 4x the number of pixels to use for your graphics (but the LEDs themselves will be smaller and less bright).
From my perspective the biggest challenges to this project are to get the power wired up, and to add diffusion so the LEDs look good. Power seems doable, especially if you’re able to solder (or get someone to solder for you). If not, it might take some time to find appropriate connectors. Diffusion is more of an aesthetic choice, what looks good to me might not look good to you. If I had to do this project tomorrow, I’d probably go to a fabric store with an LED panel and find fabric that looked good on top of the panel. (Maybe even layering a white fabric between the LEDs and the black outer fabric)
 People will not walk you through making your own in details. The library is already available, you can already buy a 64x64 panel and connect a teensy to it and use the examples that come with the library.